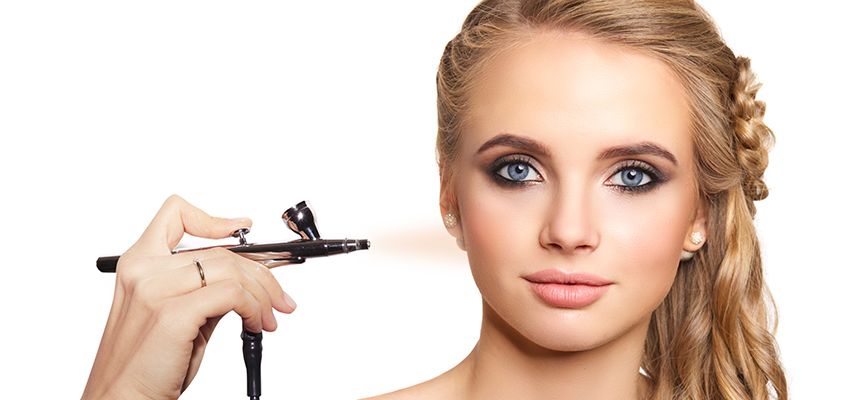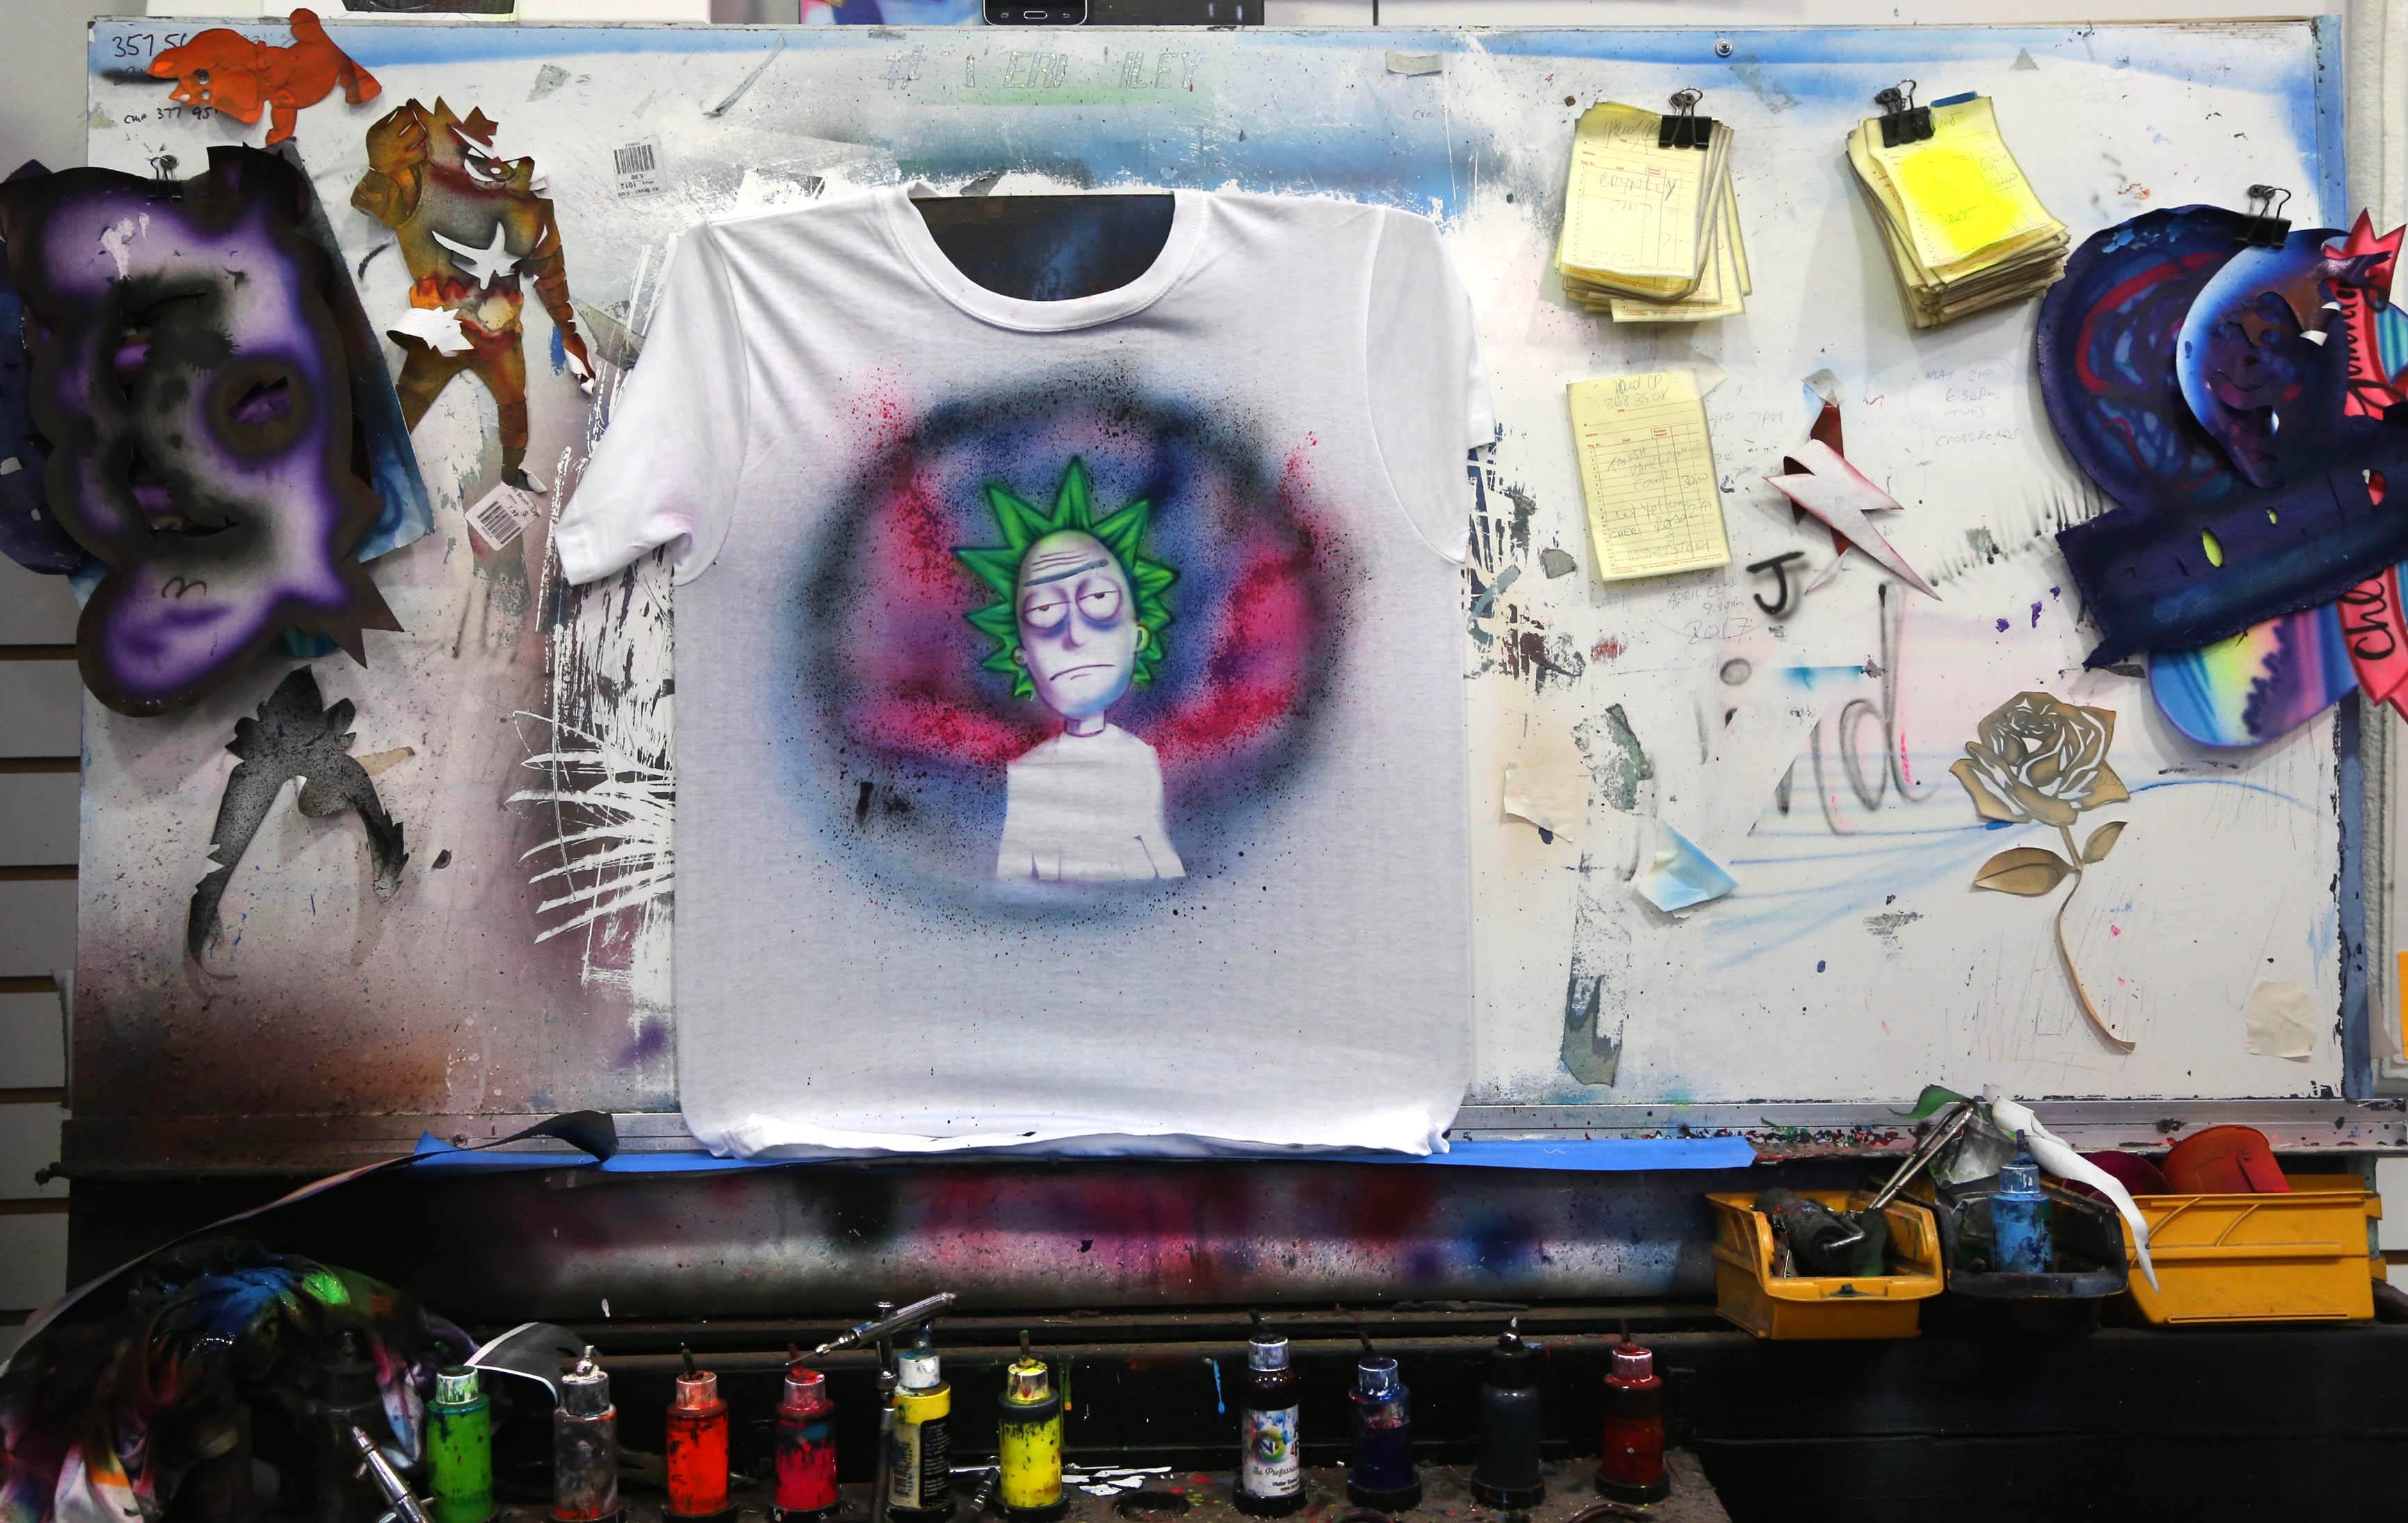
1. Use the right Airbrush – This one’s easy. If you’re at all serious about wanting to airbrush t-shirts, you have to get an IWATA Medea HP-Eclipse-Action-ECL-2000. It’s a bottom-feed Airbrush, meaning the Airbrush paint bottle connects directly to the bottom of the Airbrush and is sucked up and pushed out the nozzle by a siphon created from the flowing air. Start with this Airbrush first and you’ll save yourself a lot of headaches.
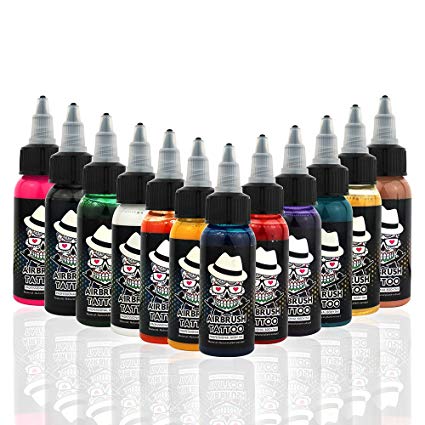
2. Use the right Airbrush Paint – The 2 big players in Airbrush shirt paint are CREATEX, and
AQUA FLOW . In my experience, AQUA FLOW does “flow” a bit better but it’s hardly noticeable. You can’t go wrong with either of these two top brands.
3. Use the right T-shirt – 100% pre-shrunk cotton or 50/50 blend. (50% cotton 50% polyester) I’ve had the best results by washing a new t-shirt at least once before I Airbrush on it. This gets rid of most of the loose fibers and also takes care of some of that initial color fade that’s bound to happen.
4. Use a good design – Take your time here. Awesome Airbrush t-shirts don’t just happen. Come up with a good design on paper first. That way you can erase and make any corrections before you actually put paint to the shirt. It takes some discipline to draw first and then Airbrush second, but trust me, you’ll waste a lot fewer shirts this way and will end up with a better-finished product every time.
5. Get comfortable – Keep your workspace clean and work at a comfortable height. I prefer to stand when I airbrush t-shirts. I use a large pegboard with shelving hooks as my easel. This makes it easy to adjust the height of my t-shirt board so I’m always in a comfortable position to Airbrush without having to kneel or stretch to finish a stroke.
6. Prepare the shirt – After it’s been washed once, iron it to get the wrinkles out. Wrinkles act like magnets for airbrush paint overspray. Use clamps or clothespins to secure the shirt to the shirt board so you have a nice flat surface to work on. For maximum colorfastness, spray a layer of Frog Juice or CREATEX clear extender on the area to be painted first, heat set it, then paint away.
7. Take your time – There’s no rush, yet. Until you take your show on the road and start doing malls or swap meets, take the time to master your skills first. Speed is important and it will come with time, but for now, focus on every stroke. Less is more too. Try getting that perfect fade in 1 pass instead of 2. The less paint you put on the t-shirt, the better.
8. Play to your strengths – It’s definitely good to be versatile but if there’s 1 particular area of Airbrush t-shirts where you really excel, go for it! Find out what you’re best at and what you love to paint the most, then master that area. It’s easier to build a reputation for being the absolute best at 1 thing, than it is to build a reputation for being pretty dang good at a lot of different things.
9. Heat press – Spray your finished airbrush shirt with another layer of CREATEX clear extender, use a heat press to heat set it at 400 degrees for 20 seconds.
10. Rinse and repeat – If you just followed the first 9 steps, you could probably get pretty far as an Airbrush shirt artist, but who wants that? We want to be the best Airbrush artist in history. Like a great man once said: “Persistence and determination alone are omnipotent” If you took a drawing like I did in first grade and held it next to any other average first grader’s drawing, you would not be able to tell which was which. 30 years later, if you took a drawing I did now and held it next to any other average 30-year-olds drawing, I’ll bet you could tell the difference. Why? Because I practiced more than they did.


